I got some new wargames figures in from Great War Miniatures recently, and took some photos along the production line.
Background
A recent game had shown me that my small collection of Late War WW1 Germans were short on PBI. I had too many special weapons, and not enough rifles. I was limited to manufacturers that work well together, in this case either Renegade or GWM. I ordered a variety of packs from the latter.
Preparation (Saturday morning)
Opening the packs, I used a knife and files to remove the small amount of moulding flash. Then I glue the figure onto a base. For a 'skirmish' game, the figures are based singly. I use a 1 pence piece here, with a small magnetic disk glued to the underside (so that the figures do not move in the metal storage box).
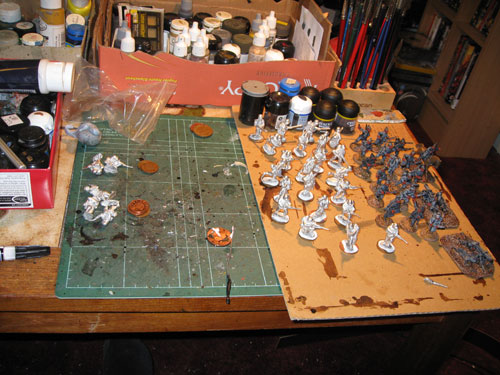
I have to wait for the glue to dry, and then apply more glue to the base and sprinkle on 'ballast'...and wait for that to dry. So I complete the earlier batch of figures on the right-side of the table.
Base Layer (Sunday morning)
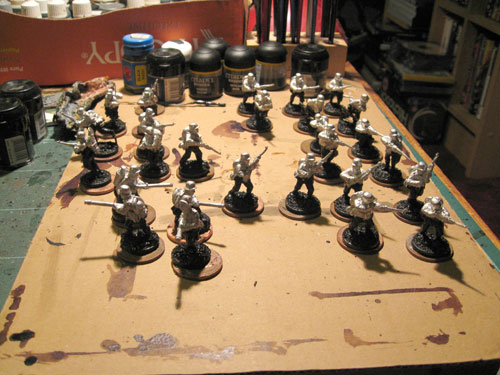
With the base dry, I can apply the black undercoat. I use a Games Workshop "Chaos Black". Expensive to use in bulk, but I find it works well.
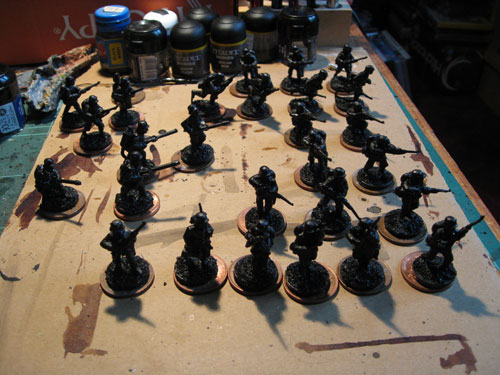
The figures rest, temporarily, on a 2 pence piece so that the painted edges of the base do not bond with the cardboard working tray.
Mid Layer (Sunday noon)
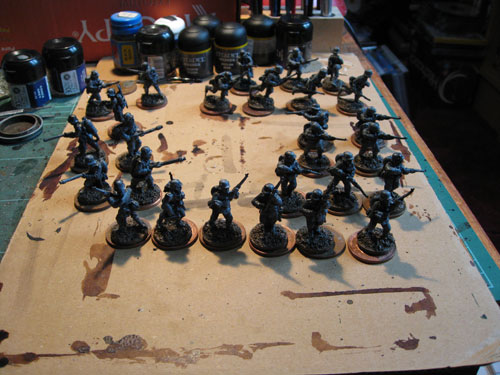
I now dry-brush the figures with a coat of GW "Codex Grey". This highlights the main areas for painting, giving the figures a more 3D look. All this helps me envisage what I'm painting. I can also see any 'holidays' where the undercoat failed to reach.
I then work on the bases. This is a 3 stage job, painting it in light brown, then applying a darker brown wash, and then dry-brushing in a different shade of brown. I'm aiming for a brown appearance here. During my research stages, I had decided that I wanted to depict the trench warfare stages of the Great War. No grasses or dashing uniforms, but mud and grime. All my Great War figures have the same base colours. Mud reaches up boots, shoes and the legs of horses. HMG crews end up with a 'plimsoll line' of mud and I only paint the parts of the clothing not covered in mud.
And now, Paint (Sunday & Monday evenings)
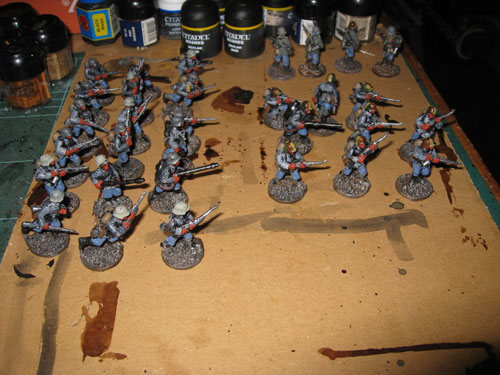
With the preparatory work done, the figures are now ready to paint. How do I know what to paint? Well, I cheat.
When I first start a new project, I look into the military structure, uniforms, artwork, photographs, movies, re-enactors, and the like. I buy a lot of the Osprey Books (which contain much of the research already), and use the Internet to find images of the period.
I then start building up a painting card, trying out shades of paint that match the image I want to portray. I hate mixing paints as I can never recreate the mix again, so I buy shades of paints. And from different manufacturers too.
And paint some more (early Tuesday evening)
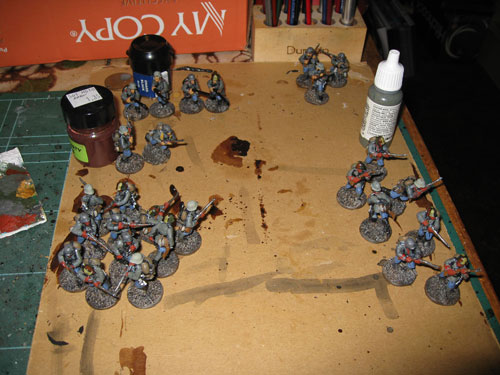
I tend to grab a paint pot and just paint. I tend to work in layers, painting the dark flesh holding the rifle before painting the rifle. that way, if I go "over the edges", the upper layer will mask the mistake.
I'll split up figures into groups. Similarly posed figures will be separated by helmet colours, so gameplay is facilitated and any groups of "camouflaged stahlhelms" don't look too 'samey'. Some of the figures had earlier tunics, so I added the red piping. I used to be able to do that on 15mm tall figures, no I find it fiddly at 28mm scale.
Eventually the figures are completed, and each one gets an inspection to make sure I haven't missed out anything.
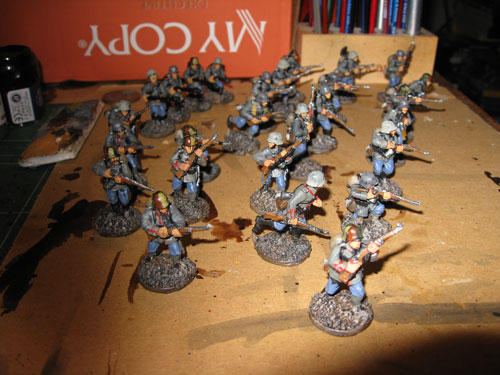
From timings, it looks like this batch took about 8 hours of painting. That's approximately 20 minutes per figure. Of course, if I was painting one figure, it would take me longer than that. Economies of scale apply here. If I wasn't enjoying painting them, the task would become a chore, and painting takes longer. So I prefer to strike whilst the iron is hot, and focus on one project at a time. Larry's pie chart shows the sad truth about wargaming projects.
Protection (Late on Tuesday evening)
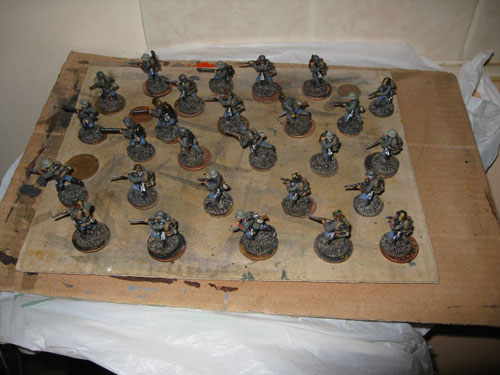
Figures are transported to the custom-built varnish-spray laboratory, and are coated in a fine cloud of matt varnish. I never liked gloss varnish, but if the heating system in the bathro... custom-built varnish-spray laboratory varies, the matt varnish can end up shining like gloss.
Passing out Parade (early Friday evening)
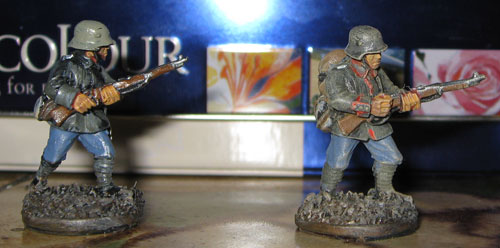
Each figure is then dusted in a coat of Tamiya Weathering Master Mud, Sand or Light Sand, depending on how random I feel. Above, the figure on the left has not been dusted, but the one on the right has been dusted.
If you need a scale, each figure is just over an inch high. I am not good enough to paint in eyes and other facial details. A poor job is more detracting, and I can argue that at the distance depicted on the tabletop, fine detail would be obscured from view.
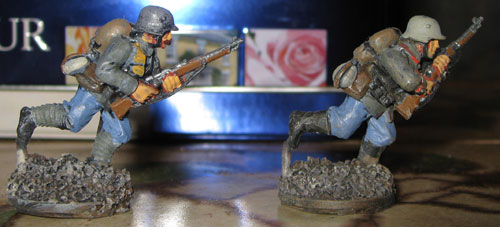
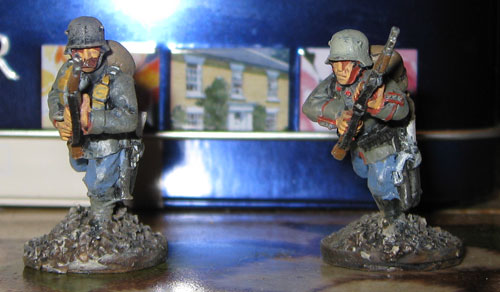
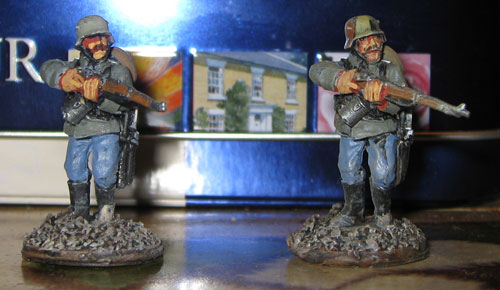
Marching Orders
Wargames figures have to be transported around. People have various solutions. I kindly got offered some magnetic strips that I can affix to the underside of the figures' bases. This allows me to use old biscuit tins and the like, and the figures don't move around much. Instead of dividing up the carrying box into small compartments, I can fit more figures into the box.
Job done.
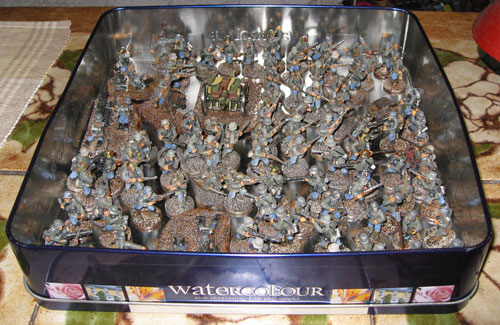
I'll need to make some terrain for them, more trench sections, blasted forests and the like. The last thing I'm concerned about is which rules to use. The look and the feel is more important to me. A visual depiction of some of the hell that these guys suffered through in the service of their Father- or Mother-land, their Republic or Kaiser.
 Getting on with my life and thinking about things.


